Author: Yasir Khan
Function Architect, Business Central
Long View
If you're looking to improve your inventory and warehouse operations, Advanced Warehouse Setup in Microsoft Dynamics 365 Business Central may be just what you need. However, it's important to consider the following pros and cons before implementing it.
| PROS | Cons |
| Real-time visibility | More resources |
| Improved inventory management | Setup complexity |
| Space utilization | Transitioning to an advanced setup |
| Reduced manual issue | The cost associated with barcode scanners |
| Faster order fulfillment | High maintenance |
| Accuracy in stock counting | Learning new process |
| Customer satisfaction |
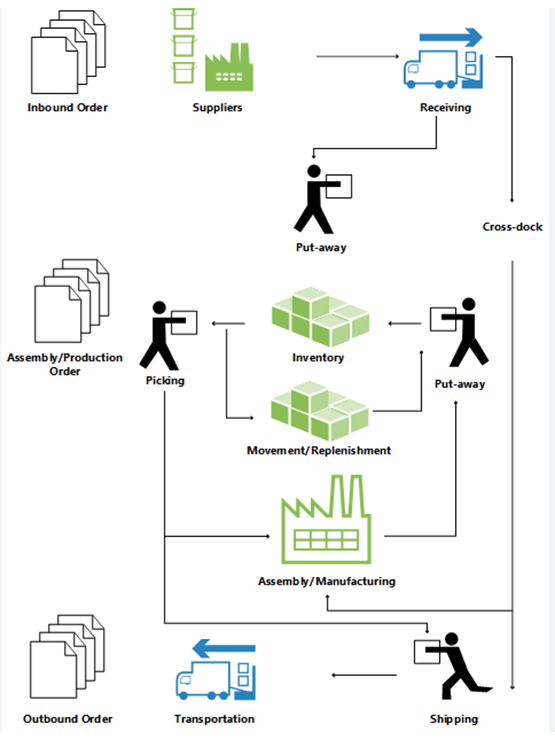
To get started, the initial step is to establish a new location.
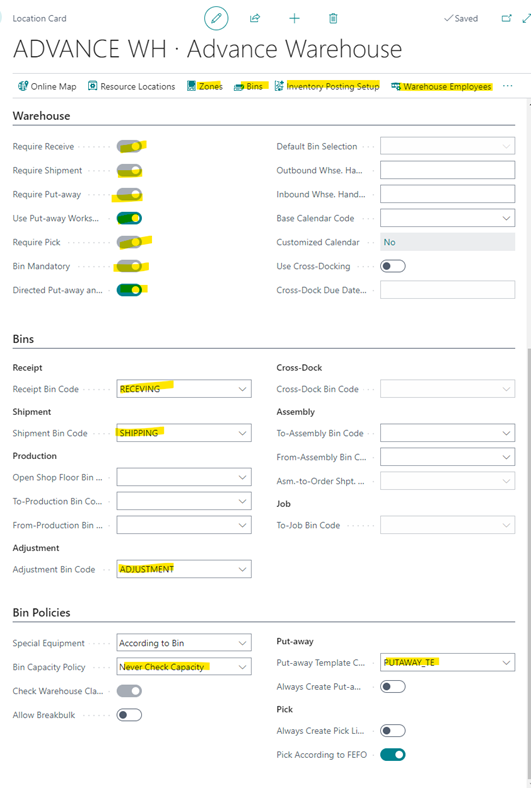
To set up advanced warehouse locations, the user must activate all warehouse capabilities in order to improve warehouse functionality and meet storage requirements. Below is a list of mandatory functions that must be used for any location to be functional.
Set up inventory posting for the same location.

The Creation of a Warehouse Employee.
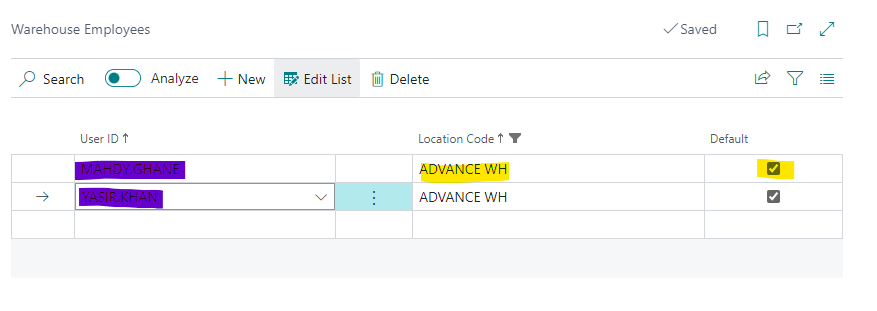
Zone creation of storage management.
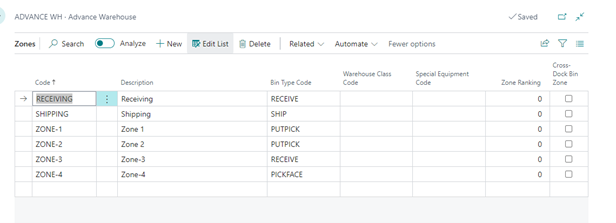
To better organize your items, consider creating separate bins for each category and labeling them with a corresponding bin type code. This will make it easier to put items away in their designated place and retrieve them as needed.
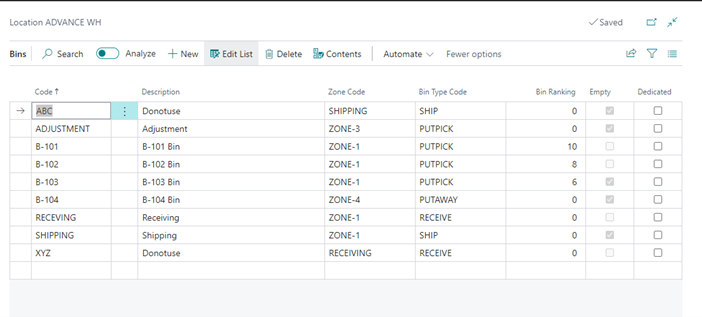
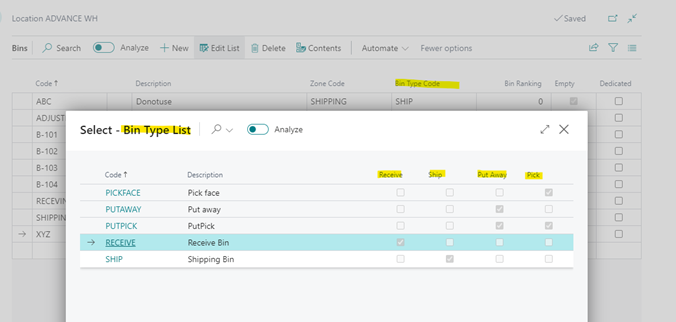
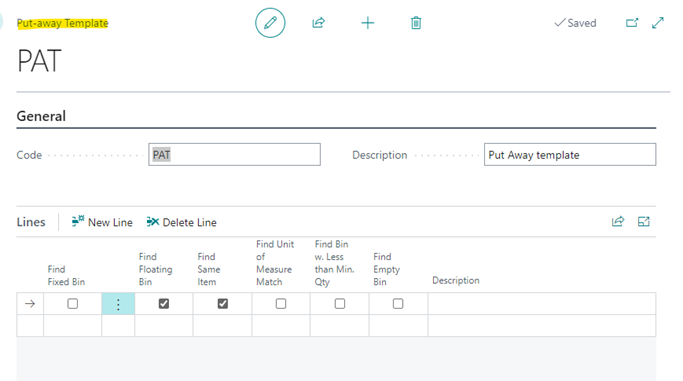
Setup Put away template to streamline the process.
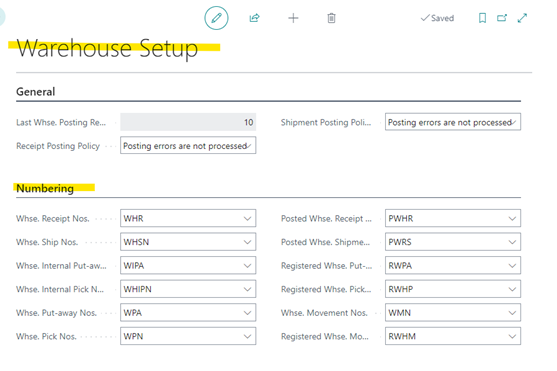
Warehouse setup.
The setups have been completed, and it is time to initiate transactions. Begin by creating a purchase order and specifying an advance warehouse location. Fill in all the necessary details, release the order, and proceed to create a warehouse receipt.
Procurement process:
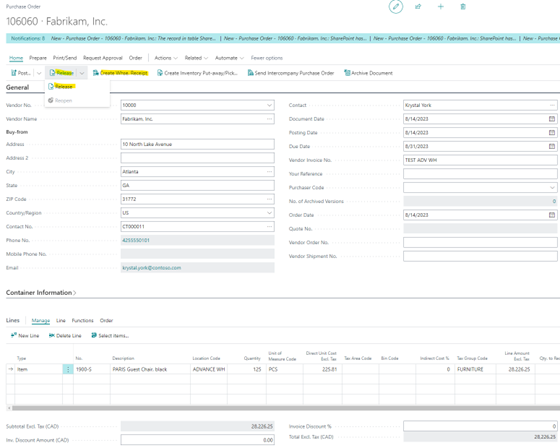
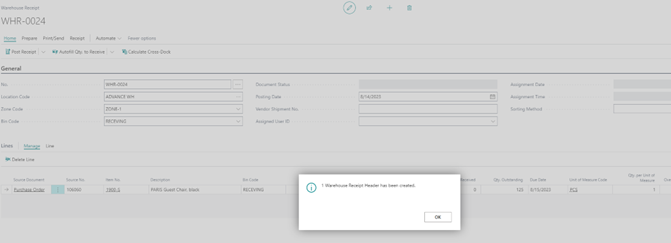
Creation of warehouse receipt.
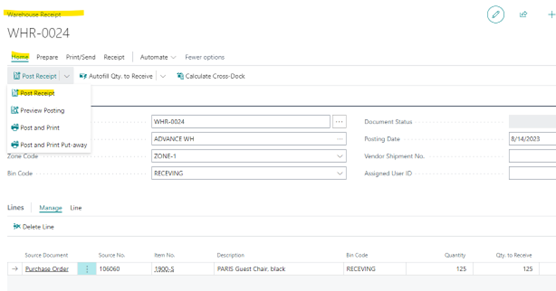
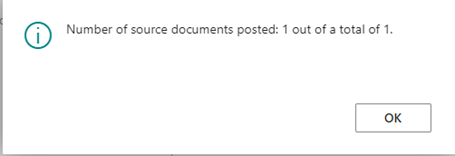
Finally, post the warehouse receipt to complete the transaction.
If multiple purchase orders are received for the same location and the items are stored in the receiving bin, a put-away worksheet can be used to transfer all items from the receiving bin to their respective bins simultaneously.
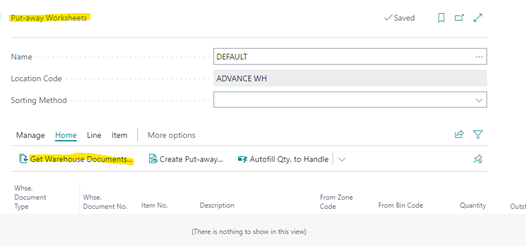
Get source document.
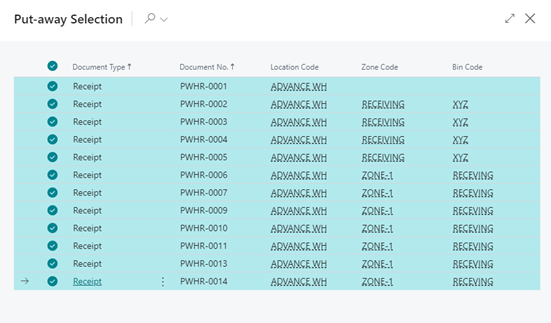
Creation of put away document.
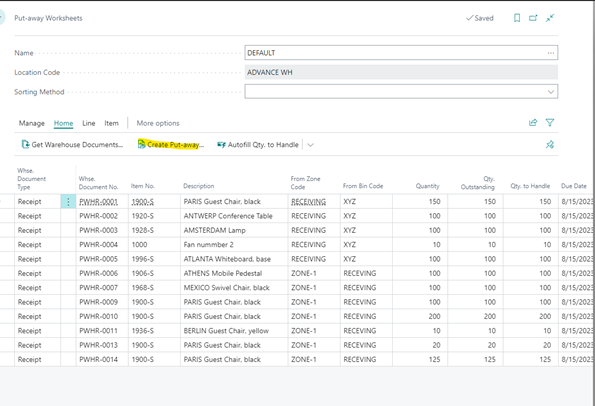
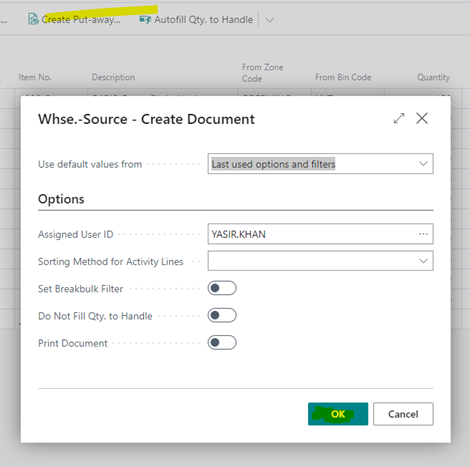
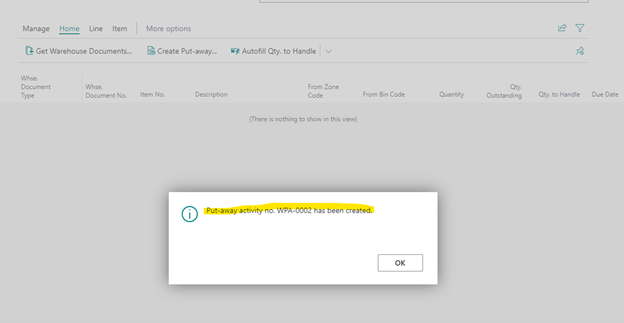
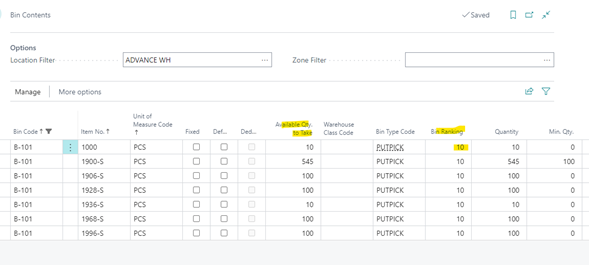
After creating the put away document, the items are ready to be moved to their respective bin according to their bin ranking. The bin with the highest-ranking number is B101.
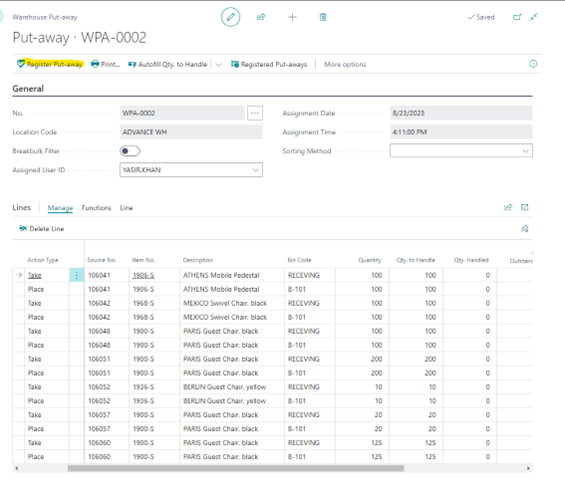
Take all the quantities from the receiving bin and then view the content of the bin.
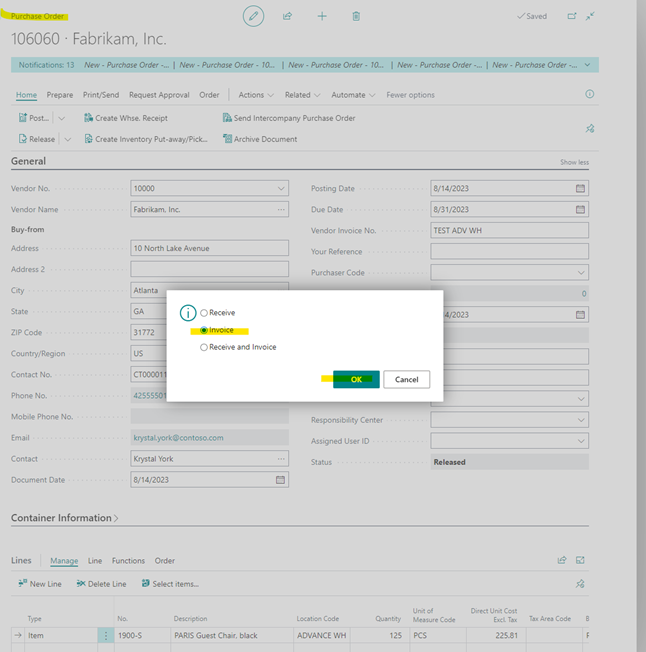
Finally, the finance dept post the invoice.
Sales process:
Create a sales order with an advance warehouse location, release the order, and then create a warehouse shipment.
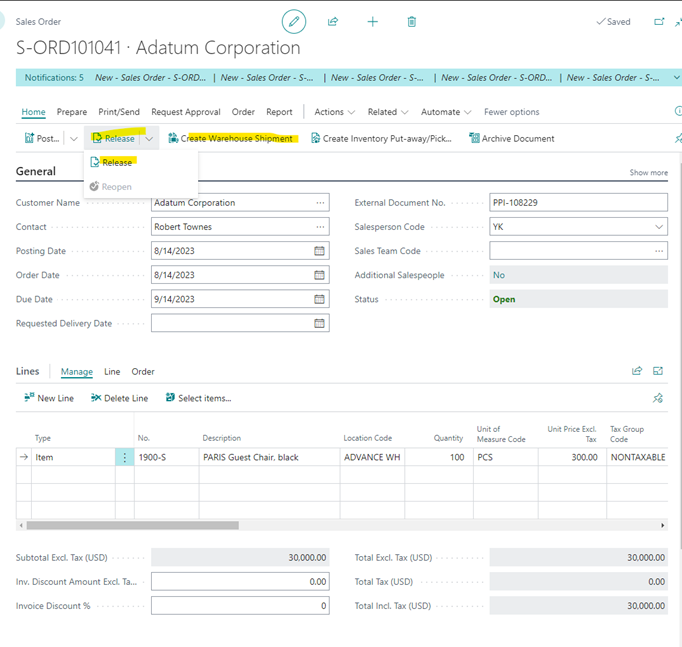
The warehouse shipment has been created. Now the user needs to create a pick for the item from the respective bin and place it in the shipping bin.
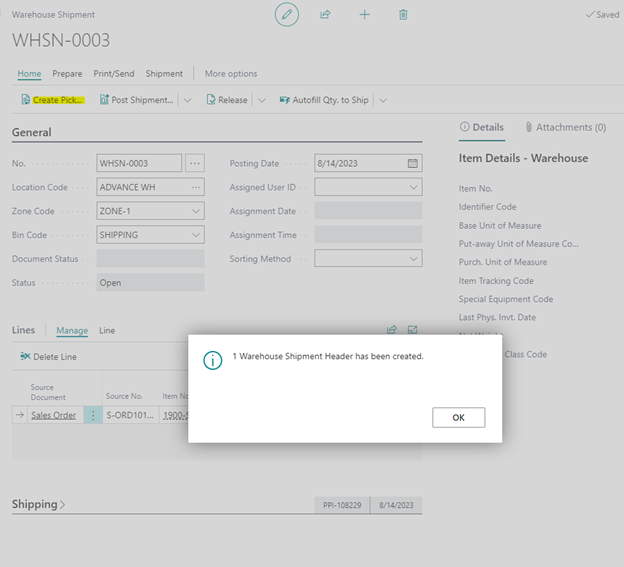
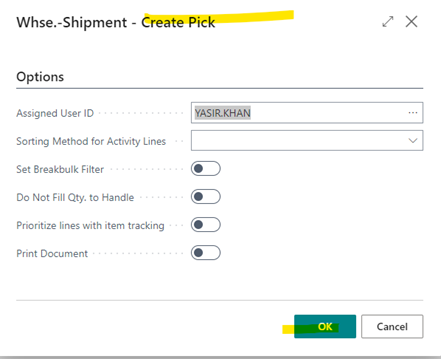
Go to the pick line to register pick.
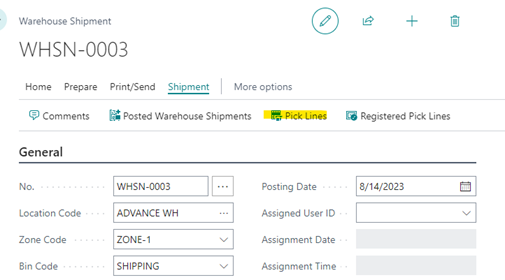
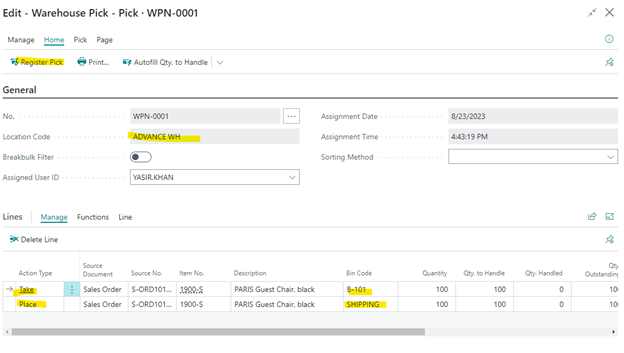
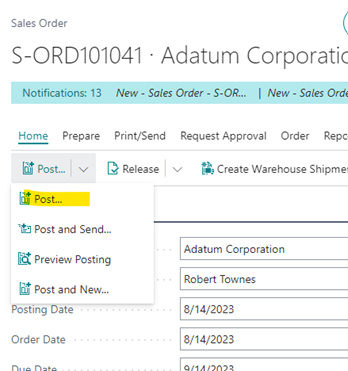
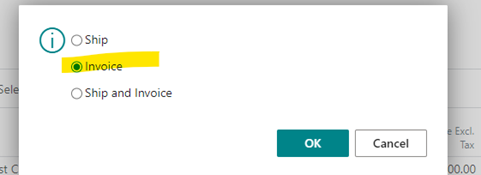
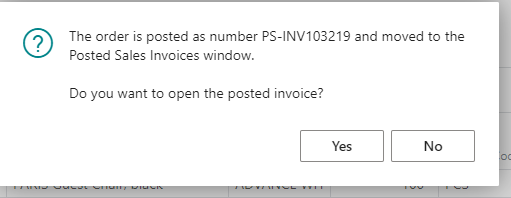
After the pick has been registered, the shipment can be posted, followed by the invoice.
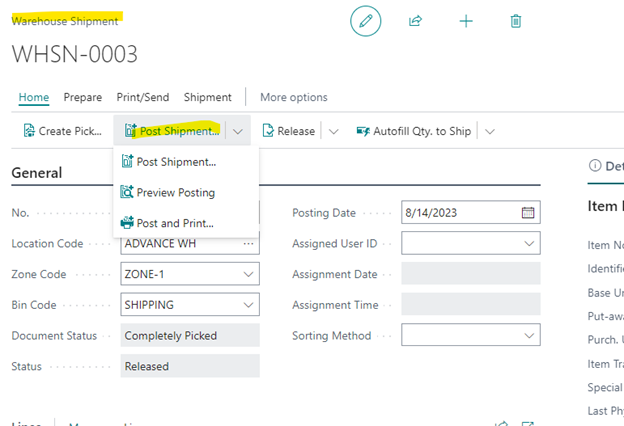
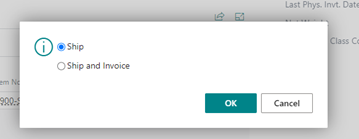

Once the shipment is posted, the finance department will post the sales invoice.
