July 2, 2026
Author: Mahdy Ghane
Solution Architect, Data & Dynamics
Long View
Traditionally, emailing PDF application forms to newly onboarded customers and vendors was among our initial responsibilities. Upon receiving the completed forms, our team would carefully transcribe the handwritten information and manually input it into our ERP system.
At Long View, we offer comprehensive support for a wide range of Microsoft products, including Microsoft Office, Power Platforms, and Business Central. This article demonstrates how we leverage these robust tools to establish an automated onboarding process for customers and vendors.
Pre-Requirements
- Microsoft Dynamics Business Central https://dynamics.microsoft.com/business-centra
- Microsoft Power Automate (Flow) : https://make.powerautomate.com/
- License for Power Automate included in Business Central SaaS license
- Microsoft Forms: https://forms.microsoft.com
- Microsoft Forms license included in: Microsoft 365 business basic, standard, and premium; Microsoft 365 A3/A5 and E3/E5; Office 365 A1/A3/A5 and E1/E3/E5; and Microsoft 365/Office 365 F3. For more information, check the Microsoft 365 business plan comparison, Microsoft 365 Enterprise plan comparison and Microsoft 365 Education plan
Step one:
Make sure to open all required apps.
Step two:
Decides which information you want to collect from your customers or vendors. For example, their name, address, email, etc. These info could be different for vendor and customer.
Step three:
Setting up Microsoft Form to collect the data.
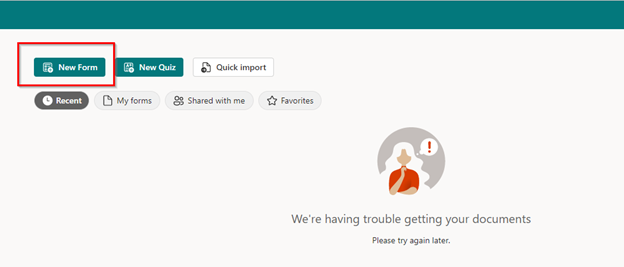
In Microsoft Forms ( https://forms.microsoft.com) click New Form.
Enter a title for your new form.

For example: “Onboarding – Vendor”
Then upload your company logo.
Then select the style for your form.
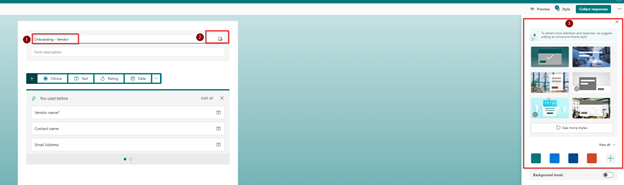
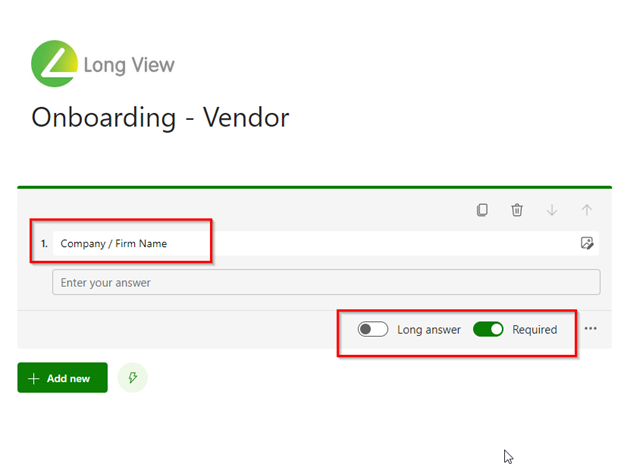
Now start building the form to collect the information you have decided in Step two.
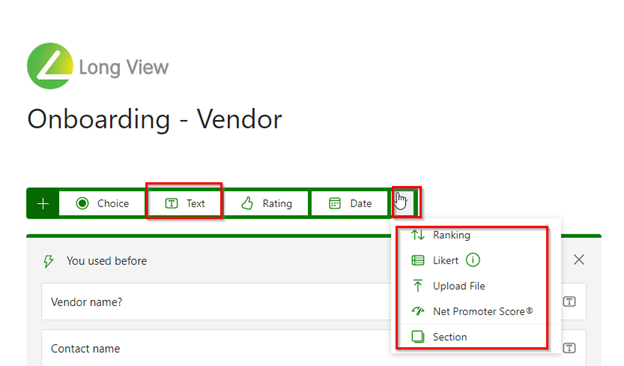
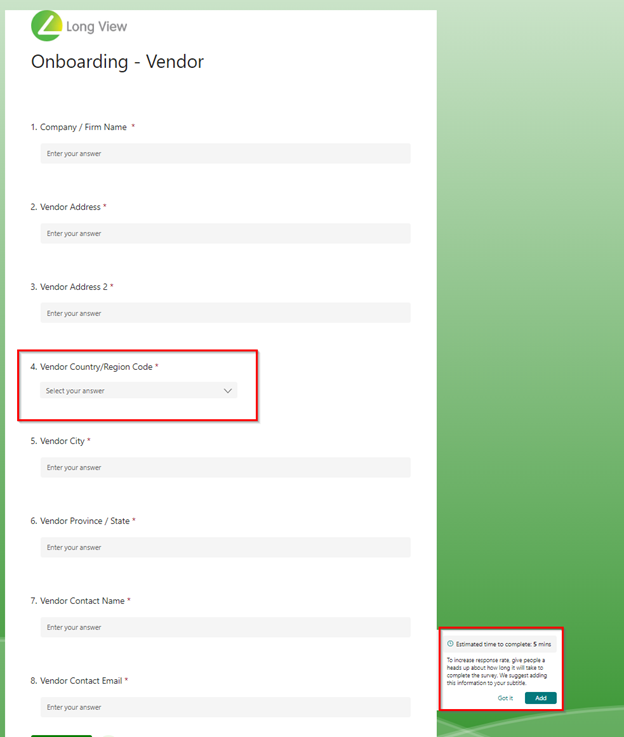
Make sure to mark “Required” info as “Required”. Also for Text do not turn on “Long Answer” to prevent going above character limit in your ERP system.
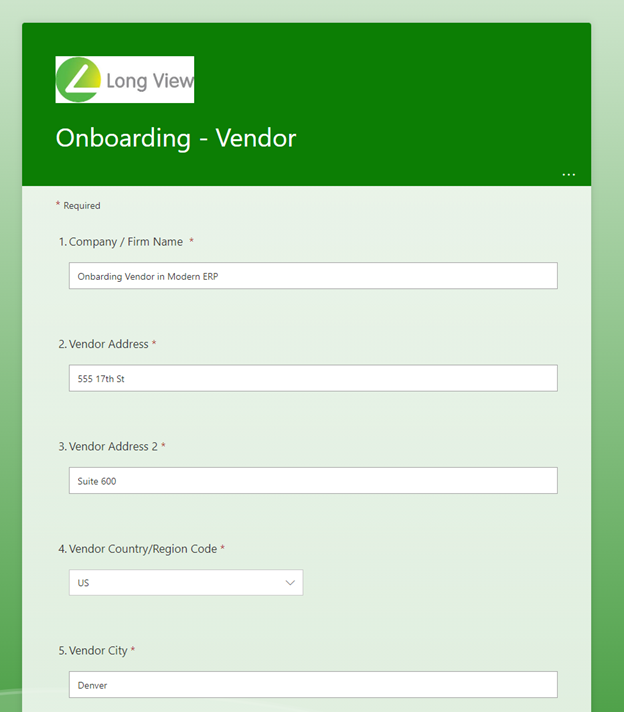
Below is the completed form. Microsoft Form automatically determined how long it would take to complete this form. Also, notice that drop down option is used for Country/Region. This is to make sure data matches your ERP format.
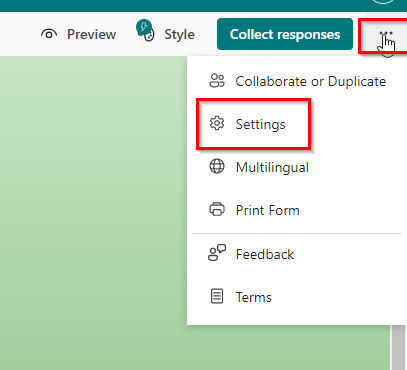
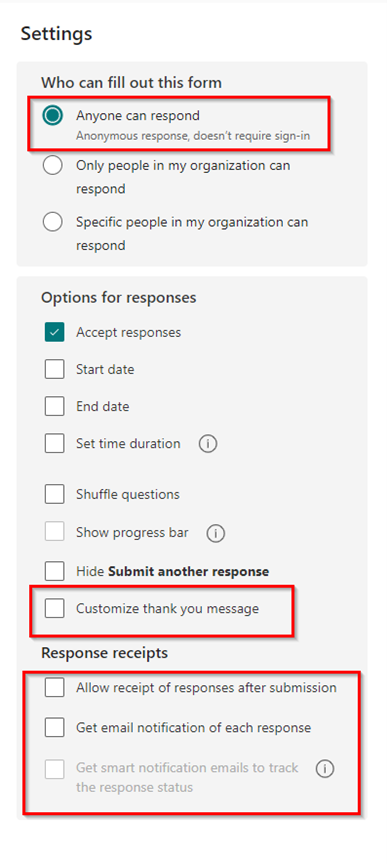
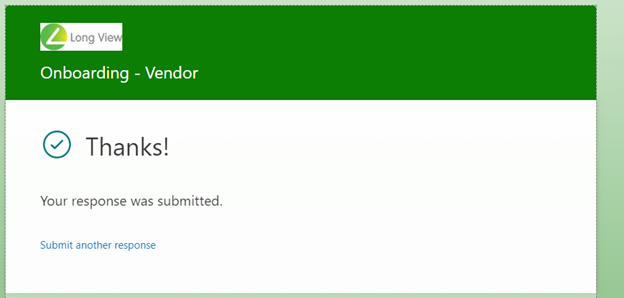
Proceed to Form Settings and select “Anyone can respond”. In addition, you can define a custom thank you message and receipt as well.
Click on “Collet responses”.

Then decides how you want to share the link with your vendor/customer. You can send a link, shortened link, QR code, etc.

That is it for this step. Just make sure to remember your form title. Also, you can create similar form for your customers as well.
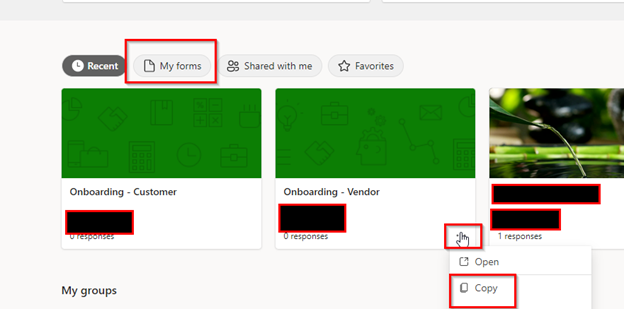
In My Forms, copy my Vendor Form and update the title. Questions, and etc. Then saved it as Onboarding – Customer.
Step four:
Setting up Power Automate.
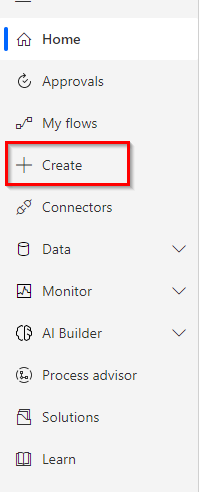
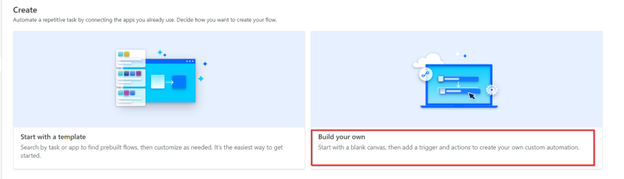
In Power Automate ( https://make.powerautomate.com/ ) click Create then select Build your own. Some older platform may have this function on top of the page and name it as Cloud Flow.
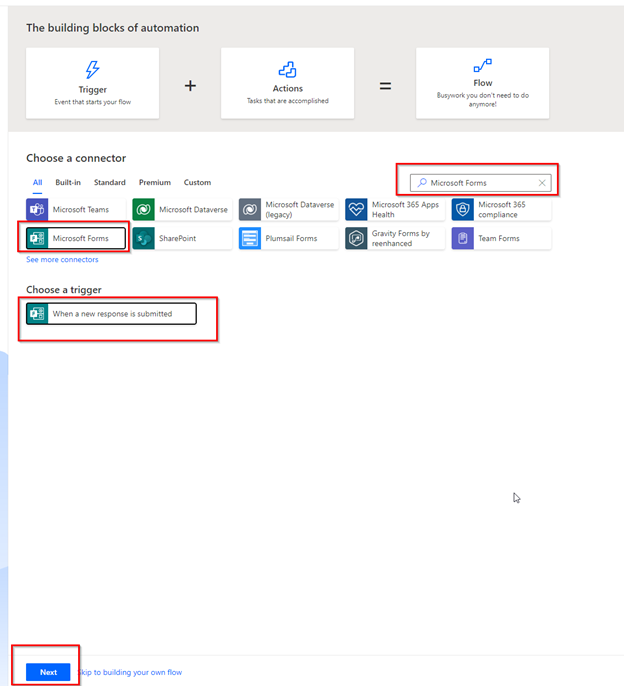
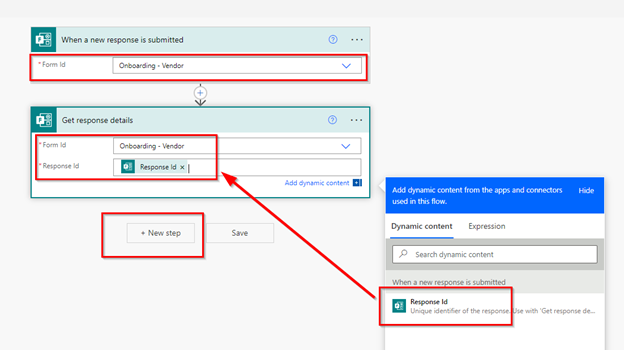
Then search for Microsoft Forms and select Microsoft Forms and for Trigger select “When a new response is submitted” then select Next.
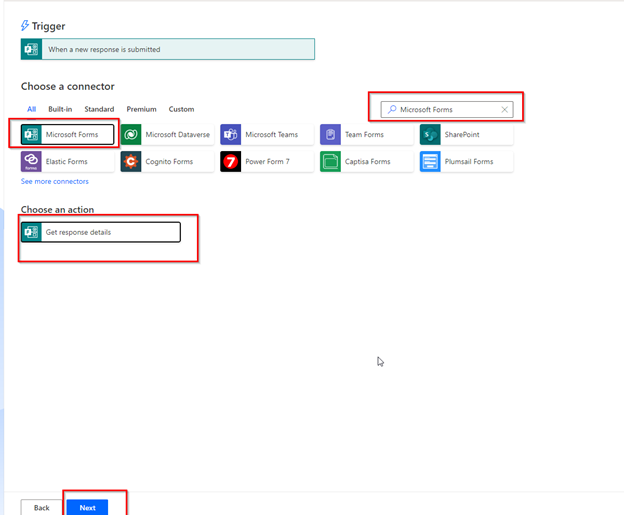
Then for Action search for Microsoft Forms, Select Microsoft Forms, Get response details, then Next.
In the new page for Form ID select the Form you want (Like Onboarding – Vendor ) then for Response id select the Response ID from left panel. Then select New Step.
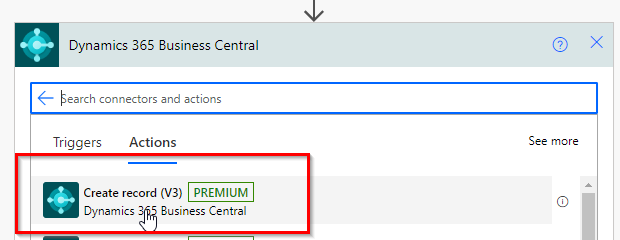
Search for Business Central or your ERP and select it.

Sselect Create record.
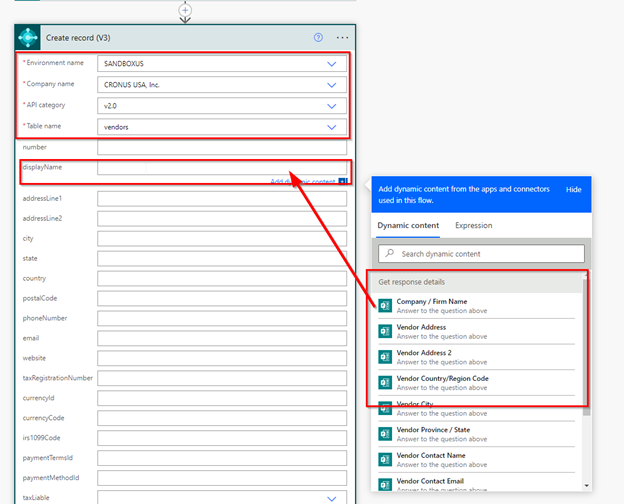
Select your environment name, Company name, API category (For Business Central select v2.0), and Table name (For vendor select vendor and for customer select customer).
Then start selecting each field and link it to the related question on your Microsoft Form.
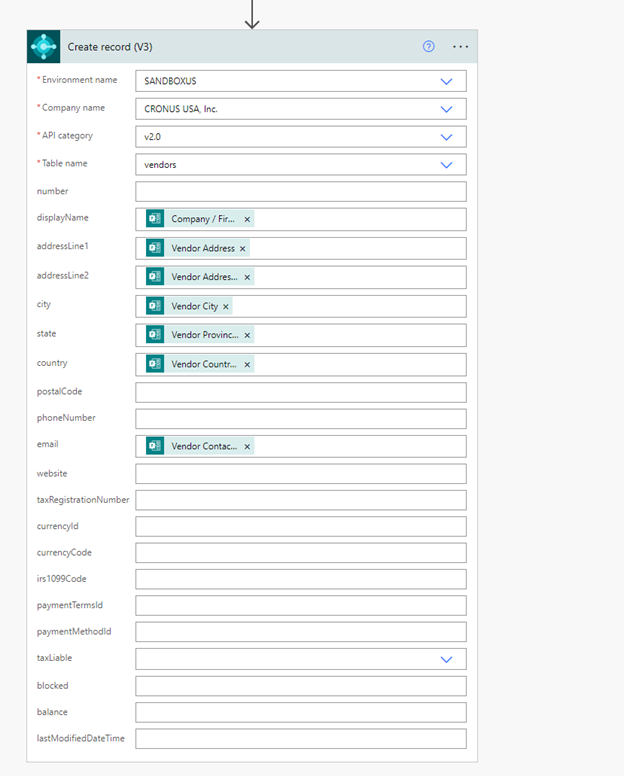
After selecting all needed fields result is something like below.
Now you need to decide if you want to notify your team member about creation of new vendor or customer.
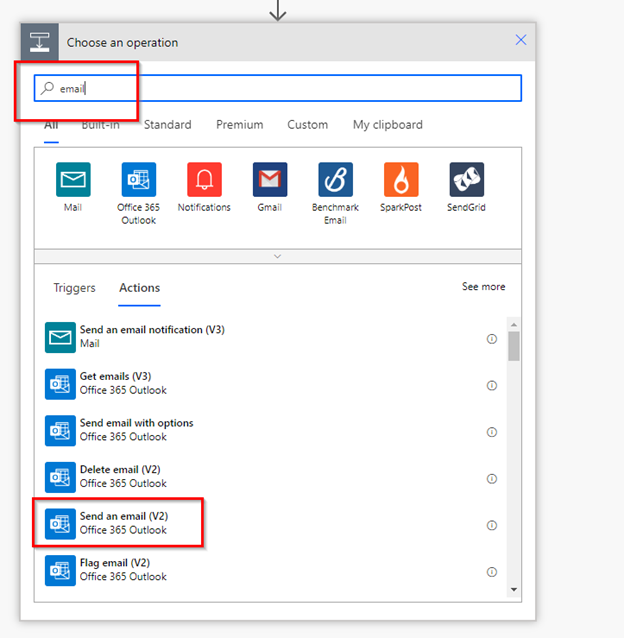
If you want to send an email then click on “New Step” then search for Email and select “Send an email”.
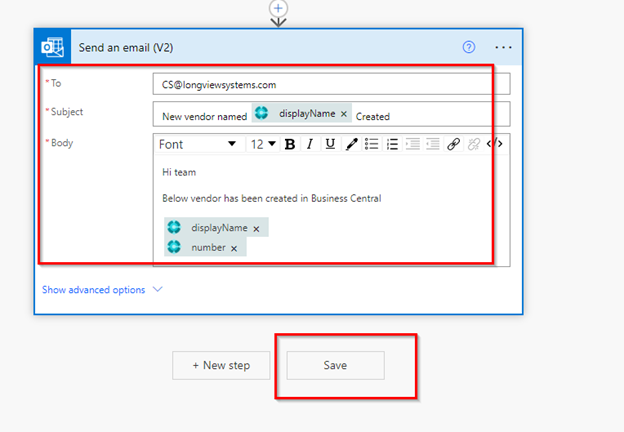
Then you can complete this step to send an email to your team. When you are done click save.
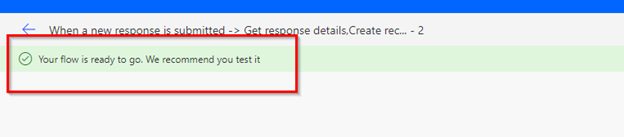
After Save make sure you do not get any error messages and receive the success message like below.
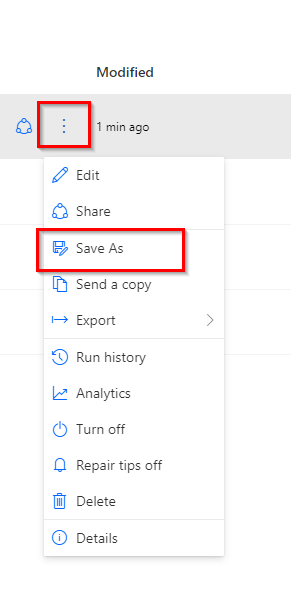
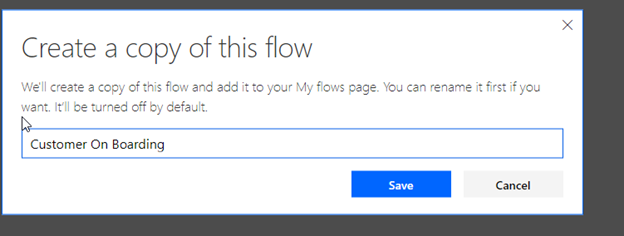
For your Customer you can choose Saves As and change all settings.
That is it. You are done. You can send your Microsoft Form to your customer/vendor and after completion of form customer/vendor will be created in Business Central.
Below is an example: Vendor received the link and populated like below and submitted the form.
Our team receives the email below:
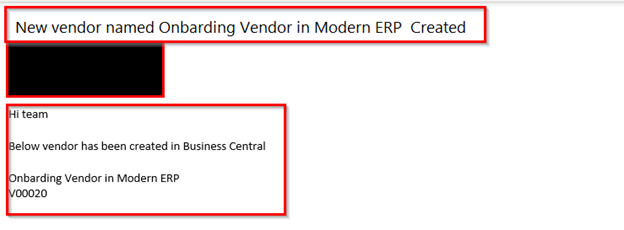
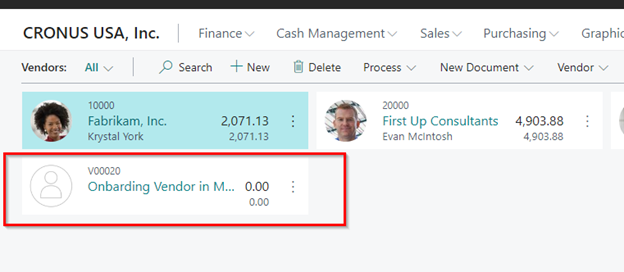
And a vendor has been created in Business Central.

Subscribe to our newsletter for the latest updates.