May 29, 2026
Author: Deepika Charugundla
Dynamics Technical Consultant
Long View
Basic concept of Intercompany
Intercompany makes it easier to handle accounting processes when two or more subsidiaries of a company frequently do business with each other. Partners can exchange transactions, such as sales and purchases, and handle them either manually or automatically.
There are a few decisions/setups to make before we step in:
- Your company's intercompany settings.
- The company that will be the synchronization partner.
- The intercompany Bank Account.
- The intercompany chart of accounts that all the partners use to exchange transactions.
- The mappings between accounts in the chart of accounts and intercompany chart of accounts for inbound and outbound transactions for each partner.
- The intercompany dimensions and dimension values.
Intercompany Setup
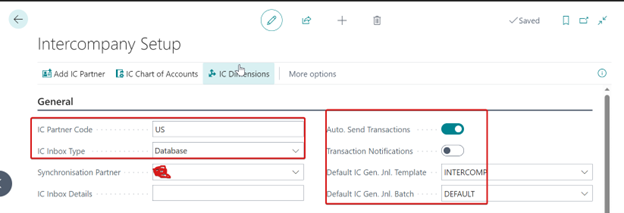
Go to Intercompany setup page and fill the following as shown below:
- IC Partner Code: Specifies what type of intercompany inbox you have, either File Location or Database.
- IC Database Type: Specifies what type of intercompany inbox you have, either File Location or Database.
- Send Transactions: Specifies that as soon as transactions arrive in the intercompany outbox, they will be sent to the intercompany partner.
Synchronization partner
On the Intercompany Setup page, each partner specifies the synchronization partner in the Synchronization Partner field.
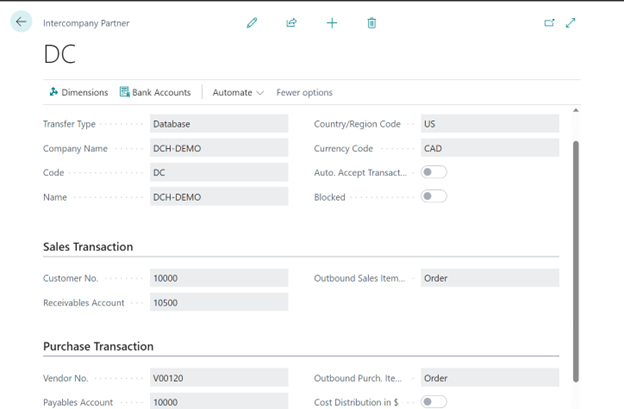
To setup Synchronization Partner click on Add IC Partner in Intercompany setup page.
Update the fields as per the requirements.
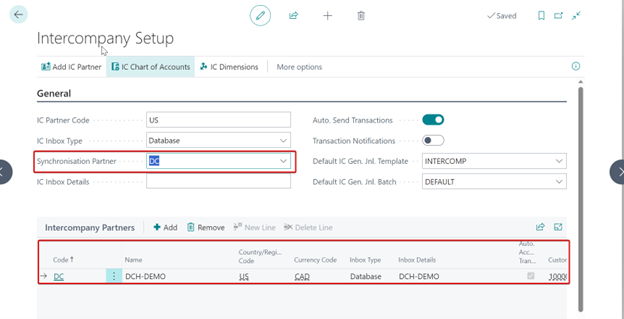
Once the Synchronization Partner is defined select the same value in Synchronization Partner field in Intercompany page, then the record is updated in Intercompany Partners FastTab.
Intercompany Bank Account
Specify one or more bank accounts to use for intercompany partners. When a partner uses an intercompany general journal to make a payment, they can specify the bank account on the line. The bank account is used as the balancing account in the receiving company, which minimizes the need to manually enter transactions.
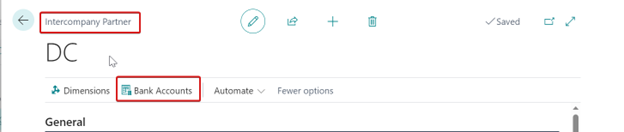
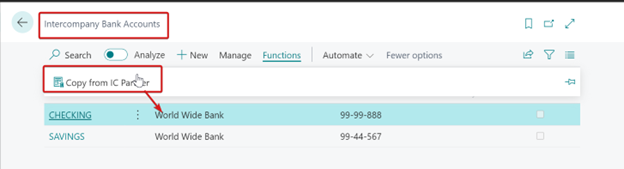
To update Bank Accounts, go to Intercompany Partner page click on Bank Account.
There you will have Copy from IC Partner click on it; it will create Bank Accounts from the Partner’s bank account.
Intercompany Chart of accounts
Go to Intercompany setup page; Click on IC chart of accounts action.
To add accounts, do one of the following on the Intercompany Chart of Accounts page:
- Choose New, and then enter each account on a line on the page.
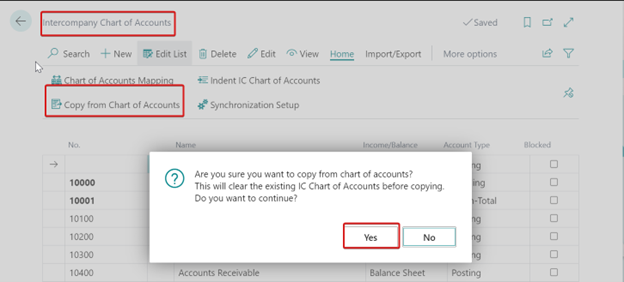
- If your intercompany chart of accounts are identical or like your regular chart of accounts, you can fill on the page automatically by choosing the Copy from Chart of Accounts
Note: If synchronization company shares its chart of accounts with partners by exporting it to a XML file. Partners can import the file to get the chart of accounts.
To import/export file:
- Go to Intercompany Chart of Accountspage, choose the Import/Export action, and then choose either Import or Export.
- Choose the file to import or export.
Mapping Chart of accounts
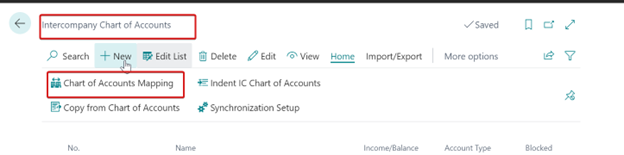
On the Intercompany Chart of Accounts page, choose the Chart of Accounts Mapping action.
You can map the accounts manually, or automatically.
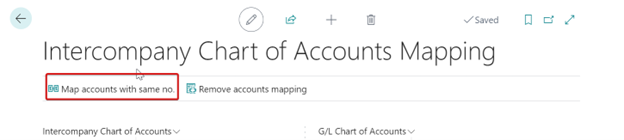
- To manually create the mapping, on the Intercompany Chart of Accountand G/L Chart of Accounts panes, choose an account, and then choose an account in the G/L No. and IC No.
- To automatically map accounts that have the same numbers, select the lines that you want to map, choose the Map to Acc. with Same Noaction, and then choose the chart of accounts to update.
Intercompany Dimension
Each company must map their dimensions to the intercompany dimensions for outgoing documents and incoming documents. Mapping accounts in both directions is important and helps maintain consistency across the companies.
Go to Intercompany setup page; Click on IC Dimensions action.
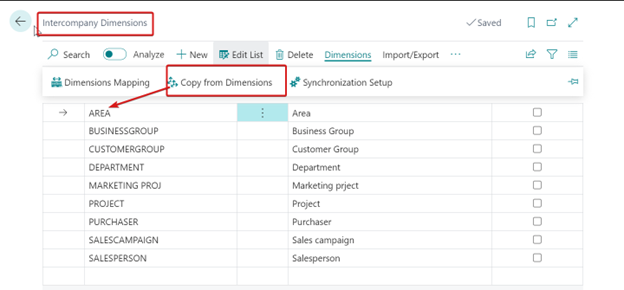
To add dimensions, do one of the following on the Intercompany Dimension page:
- Choose New, and then enter each account on a line on the page.
- If your intercompany chart of accounts will be identical or like your regular chart of accounts, you can fill on the page automatically by choosing the Copy from Dimensions
Note: If synchronization company shares its chart of accounts with partners by exporting it to an XML file. Partners can import the file to get the chart of accounts.
To import/export file:
- Go to Intercompany Dimensionpage, choose the Import/Export action, and then choose either Import or Export.
- Choose the file to import or export.
Mapping Dimensions:
On the Intercompany Dimensions page, choose the Dimensions Mapping action.
You can map the accounts manually, or automatically.
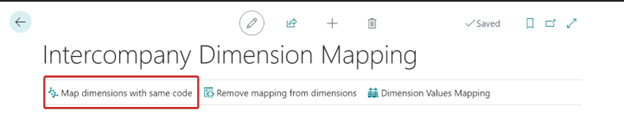
- To manually create the mapping, on the Intercompany Dimensions and Current Company Dimensions panes, choose a dimension, and then choose a dimension in the Dim. Code and IC Dim. Code fields.
- To automatically map dimensions that have the same code, select the lines that you want to map, choose the Map dimensions with same code action, and then choose the dimensions to update.
- Choose the Dimension Values Mappingaction, On the Intercompany Dimension Values Mapping page to map the dimension values.

Then click on Map dimension values with same code as shown below.

Intercompany general journal
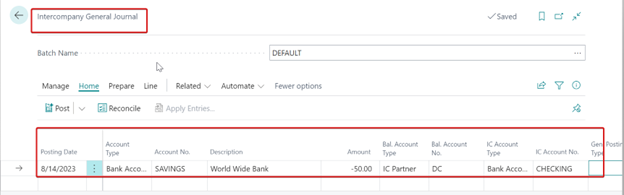
General journals are used to post to general ledger accounts and other accounts, such as bank, customer, and vendor accounts. Posting with a general journal always creates entries on general ledger accounts. Use the Intercompany General Journal page to set up the general journal batch to use. The settings that are specific to intercompany transactions are the accounts you specify in the IC Account Type and IC Account No fields.
Process
To move money between two companies, like from one bank to another bank in the other company.
- It can be done by using creating a bank account line in Intercompany General Journal.
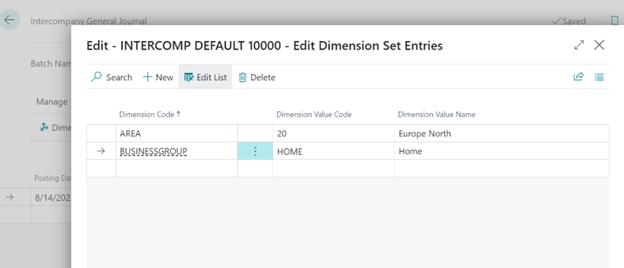
- Map Dimensions if required.
- Click on Post, if Send Transactions is turned on intercompany setup page the transaction will automatically be sent to the intercompany partner.
- Now go Intercompany partner company, in my case need to switch to DCH-Demo
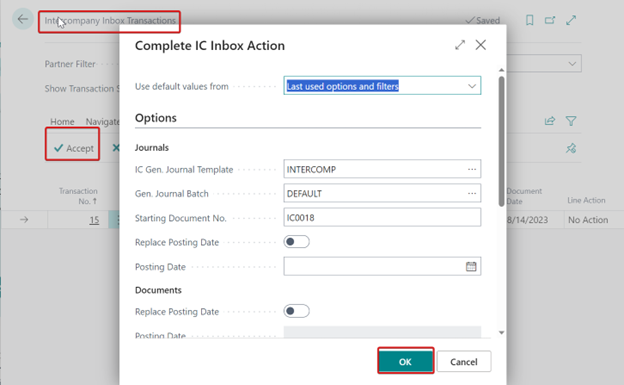
- To accept the record, go to Intercompany Inbox Transactions
- Click on Accept.
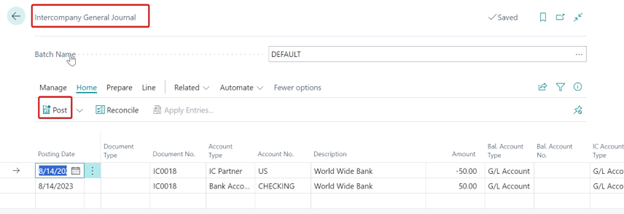
- After accepting, records will be created automatically in Intercompany General Journal.
- Now post the records.
- Go to Bank Accounts, to verify the fund transfer.
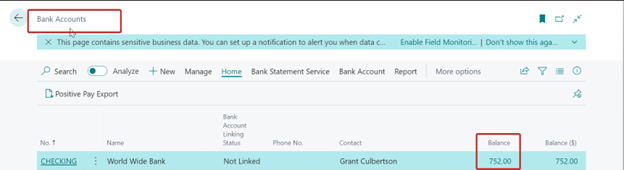
- Click on Balance and you will see the new added transaction created above.