Purpose:
The purpose of this document is to provide instructions on setting up the Microsoft Authenticator App on your Apple or Android device. Multi-factor authentication ensures your account stays secure. MFA will prompt for you to approve new sign-ins, making it more difficult for other people to sign into your account.
Document Directory:
iOS MS Authenticator Install
Android MS Authenticator Install
Computer Setup
Steps:
iOS MS Authenticator Install
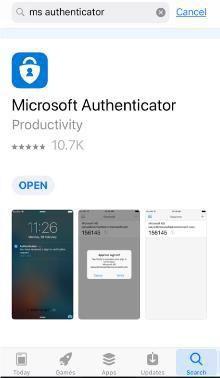
From the mobile device store, search and install the MS Authenticator app ![]() . Note: Allow notifications for this app – this will allow the app to automatically send a notification without having to open the app each time you want to use it.
. Note: Allow notifications for this app – this will allow the app to automatically send a notification without having to open the app each time you want to use it.
Open the MS Authenticator app.
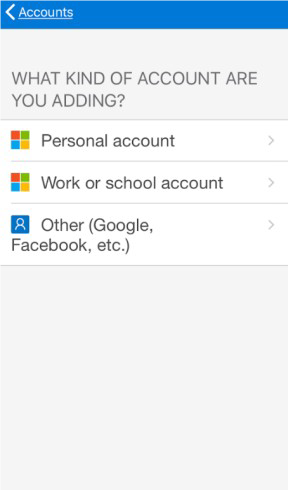
On the app, tap the in the top right corner to add you account.
Tap “Work or School Account”.
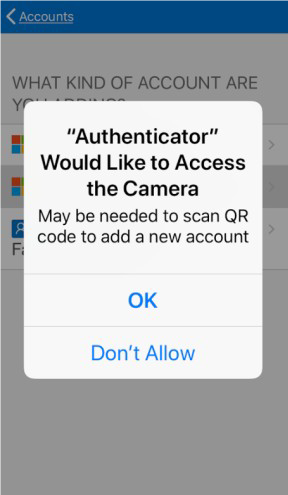
Tap “OK” to access the Camera.
Once the MS Authenticator app is on your mobile device, continue the setup from your computer. Continue to Computer Setup below.
Android MS Authenticator Install
Open your Android device and open the Google Play Store ![]() .
.
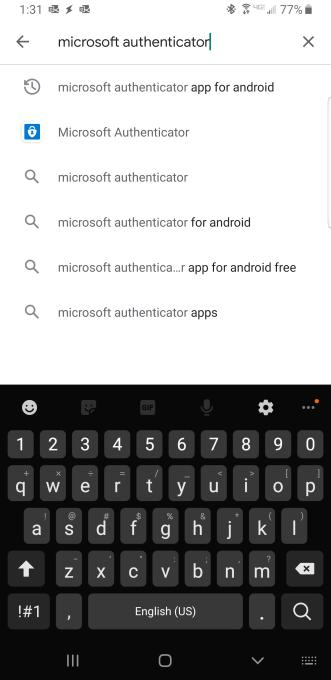
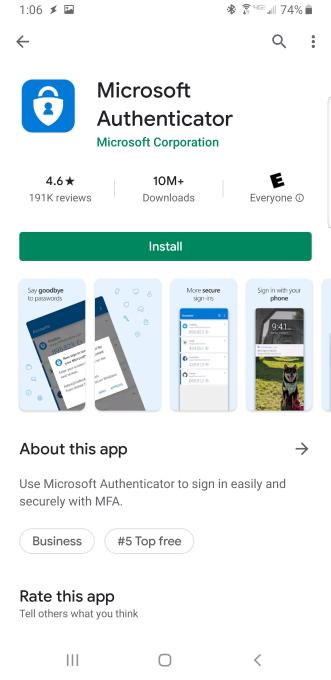
Search for “Microsoft Authenticator” in the store (search bar is at the top of the screen when you open the Google Play Store app). In the suggestions below the search bar, tap on the “Microsoft Authenticator” with this icon ![]() next to it. If this suggestion does not show, you can search for it manually on the store and it should be the first app on the page.
next to it. If this suggestion does not show, you can search for it manually on the store and it should be the first app on the page.
Tap on the “Install” button.
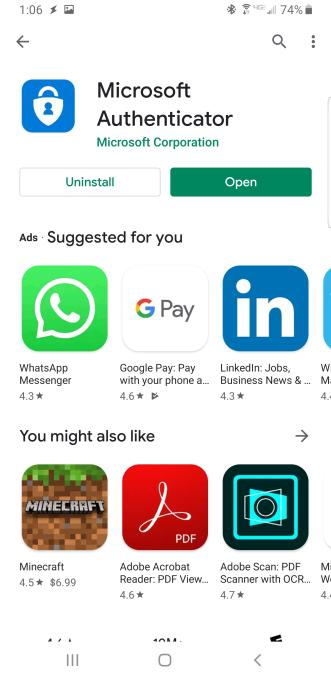
Tap “Open” after the download is complete.
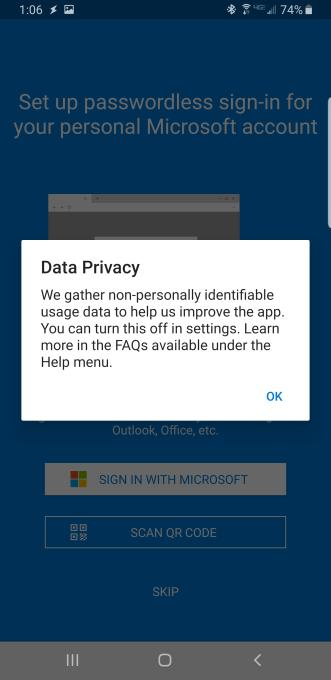
Tap on “OK” on this popup.
Tap “Skip” on the next two screens
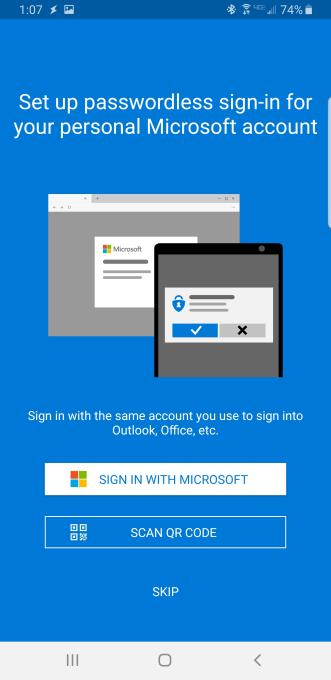

Tap “ADD WORK ACCOUNT”.
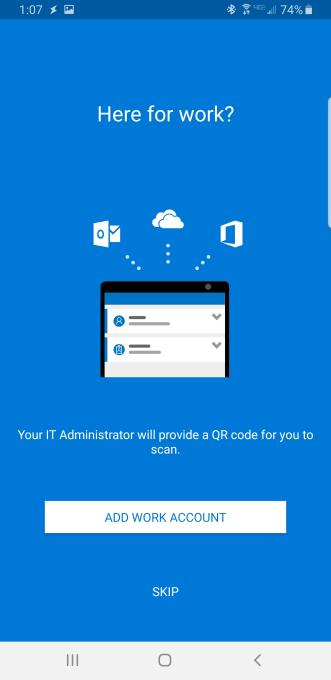
The app will open your device’s QR Scanner. You will need this for the next step.
Computer Setup
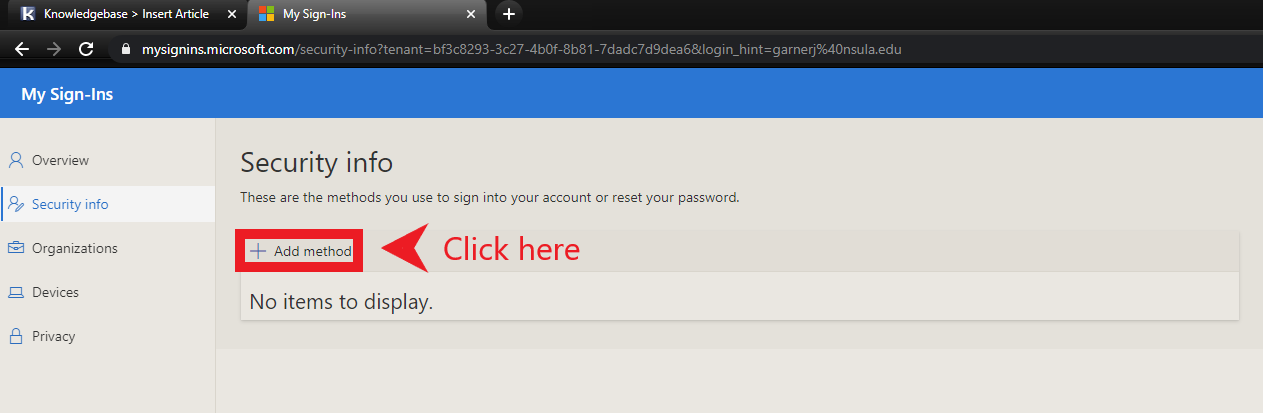
From a computer, navigate to the aka.ms/setupsecurityinfo web address. Click “Add method”.
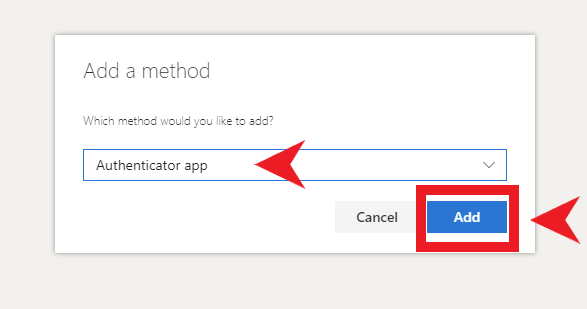
Ensure “Authenticator app” is shown in the drop-down field. If it is not, click the down arrow towards the right and select “Authenticator app” from the choices given. Click “Next”.
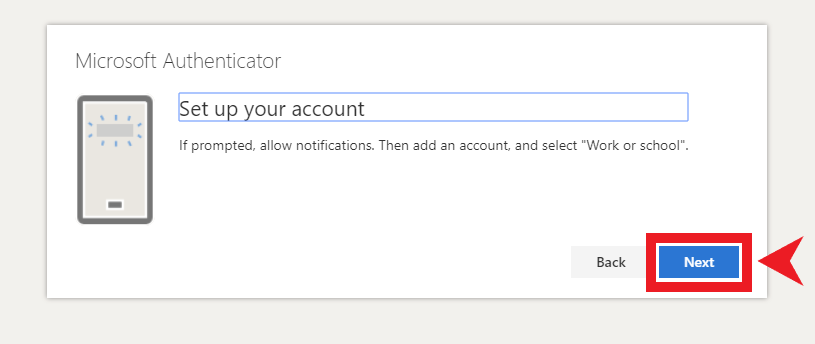
You will already have the app installed. Click “Next”.

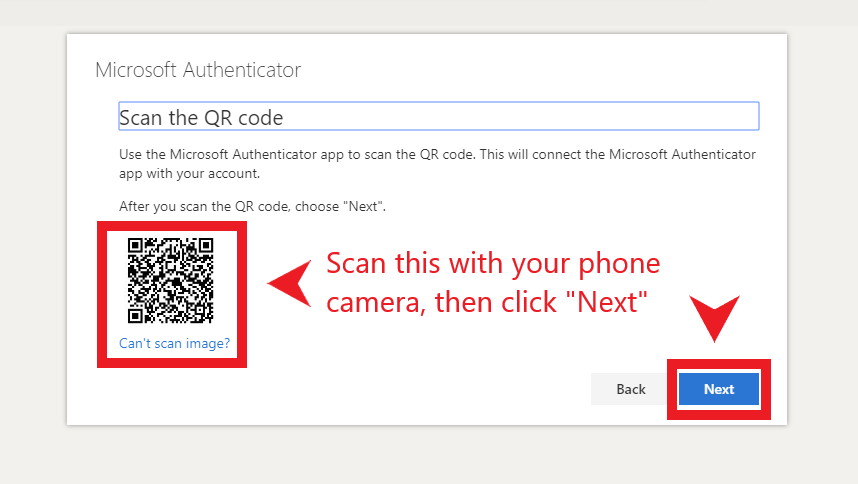
Click “Next”
Using the QR Scanner on your device, scan the QR code on your computer screen a click “Next”.
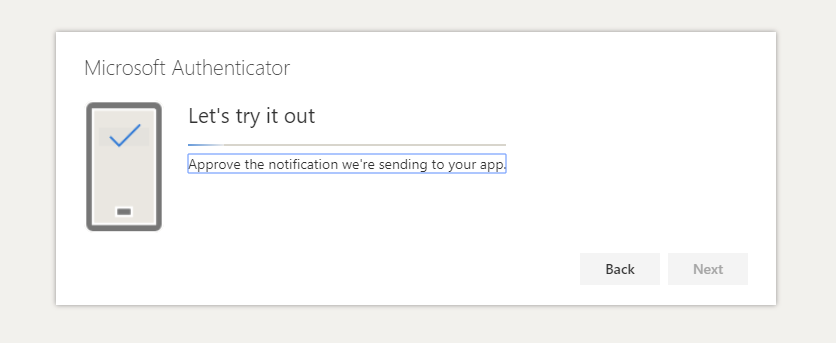
There should now be a notification sent to your device. Open it and tap on “Approve”. This will be the actual process of authenticating sign-ins from now on.
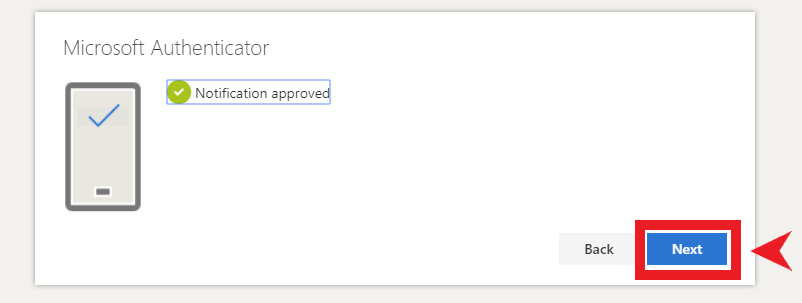
When this next screen is shown on your computer after tapping “Approve” on your device, click ”Next” on your computer.
Make sure “Microsoft Authenticator” is now shown as a sign-in method.
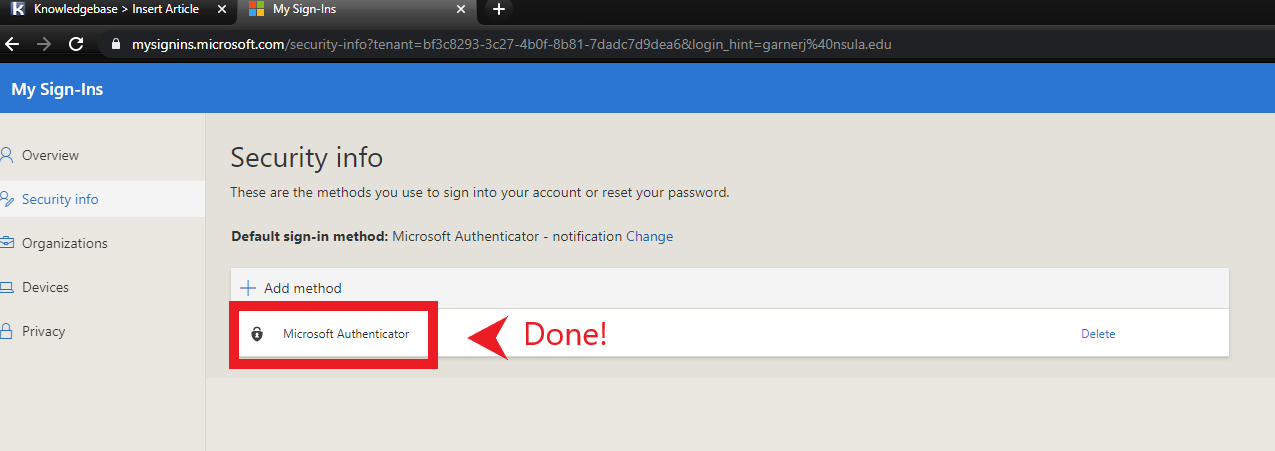
The process is now complete!
Please Note:
Please make sure you set up other alternate MFA methods. With only the Microsoft Authenticator method in place, you must have access to the device you installed it on and remain logged into the app to sign in. It is very important to have these authentication methods in place, but the only way to reasonably prevent most issues with MFA is to also have a phone number and email address set up as well.
If you require further assistance with configuring MFA, please contact your IT Support for help.